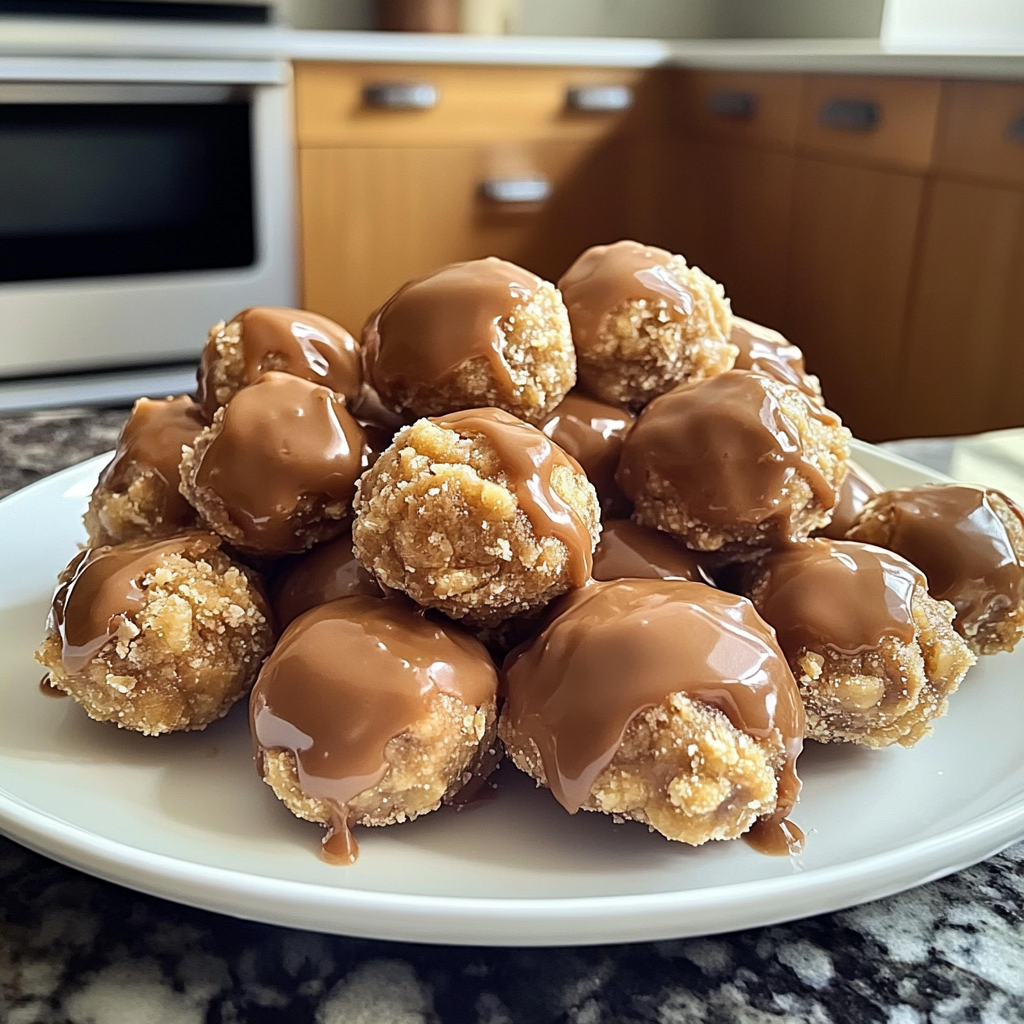
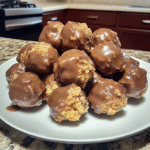
Butterfinger Balls are like little bites of happiness that dance on your taste buds, combining the creamy richness of peanut butter with a delightful crunch from crushed Butterfinger candy bars. Imagine biting into a sweet treat that melts in your mouth, releasing a symphony of flavors that tickle your senses and bring back fond memories of childhood.

Jump to:
- <strong>Essential Ingredients</strong>
- <strong>Let’s Make it Together</strong>
- <strong>Perfecting the Cooking Process</strong>
- <strong>Add Your Touch</strong>
- <strong>Storing & Reheating</strong>
- <strong>FAQ</strong>
- How long do I need to chill the mixture?
- Can I use other candy bars instead of Butterfinger?
- What’s the best way to melt chocolate?
- 📖 Recipe Card
- Butterfinger Balls
- Description
- Ingredients
- Instructions
- Nutrition
- Did you make this recipe?
I remember the first time I made Butterfinger Balls; my friends were practically throwing themselves at me, fighting for the last bite. The laughter and joy we shared over these delicious morsels created an unforgettable memory that still warms my heart today. Brace yourself for an amazing flavor experience that will make you the star of your next get-together.
Why You’ll Love This Recipe
- These Butterfinger Balls are incredibly easy to prepare, making them perfect for both beginners and seasoned chefs.
- Each bite bursts with rich peanut butter flavor complemented by crunchy chocolate bits.
- Their eye-catching presentation makes them perfect for parties or as delightful homemade gifts.
- Plus, they can be easily customized with different toppings or ingredients to fit any palate.
Everyone in my family went wild for these Butterfinger Balls when I brought them to our last holiday gathering.
Essential Ingredients
Here’s what you’ll need to make this delicious dish:
- Butterfinger Candy Bars: Grab about four bars; they bring the signature crunch and sweetness to your treat.
- Creamy Peanut Butter: Use smooth peanut butter; it adds creaminess and helps bind everything together beautifully.
- Powdered Sugar: About two cups will balance the flavors and create a sweet coating for your balls.
- Chocolate Chips: Semi-sweet chocolate chips work best for melting and coating; choose quality brands for richer flavor.
- Sprinkles (optional): Use colorful sprinkles to add visual appeal; they make every bite more festive!
The full ingredients list, including measurements, is provided in the recipe card directly below.
Let’s Make it Together
Prepare Your Workspace: Start by cleaning your countertop and gathering all your ingredients and tools like mixing bowls and baking sheets for easy access.
Crumble Butterfingers: Unwrap the Butterfinger bars and place them in a ziplock bag. Crush them into small pieces using a rolling pin or your hands. The crunchier, the better!
Mix Peanut Butter Mixture: In a large bowl, combine creamy peanut butter with powdered sugar until well blended. You want it thick enough to hold its shape but smooth enough to mix easily.
Add Crushed Candy Bars: Stir in the crushed Butterfingers until evenly distributed throughout the mixture, creating a deliciously sweet dough packed with crunch.
Form Into Balls: Using your hands, scoop out small portions of the mixture and roll them into 1-inch balls. Place them on a lined baking sheet as you go along.
Melt Chocolate Chips: In a microwave-safe bowl, melt chocolate chips in 30-second intervals until smooth. Be sure to stir between heating sessions to avoid burning.
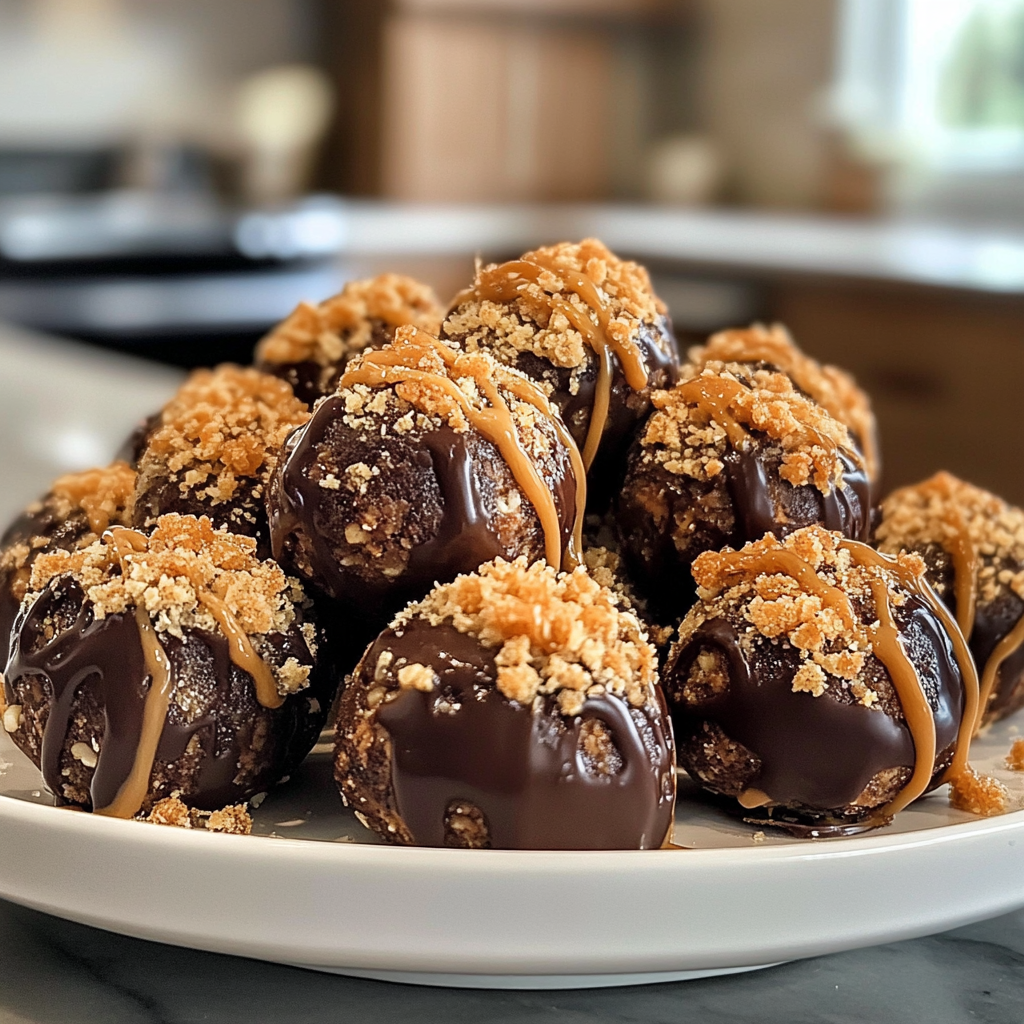
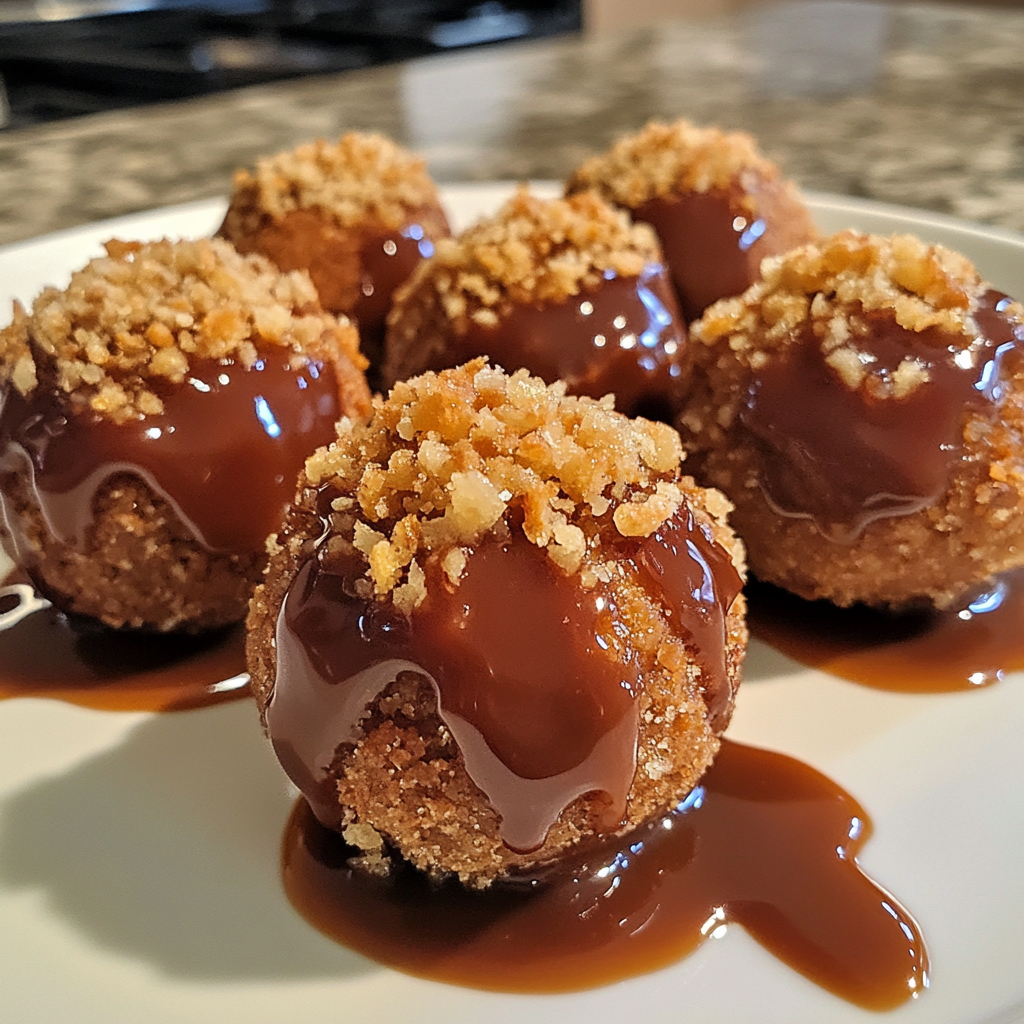
Coat Your Balls!: Dip each ball into the melted chocolate using forks or toothpicks. Let excess chocolate drip off before placing them back on the baking sheet.
Add Sprinkles (Optional): If desired, sprinkle some colorful sprinkles on top while the chocolate is still warm. This step adds fun flair!
Chill Until Firm: Place the baking sheet in the fridge for at least 30 minutes until the chocolate hardens completely, making those delectable bites ready to enjoy!
Enjoy these delightful Butterfinger Balls as a special treat or share them with loved ones—either way, they’re bound to bring smiles all around!
You Must Know
- Mastering Butterfinger Balls is all about balance; the texture between crunchy and creamy makes them irresistible.
- Don’t forget to chill your mixture for the perfect rolling consistency.
- The sweet aroma wafting through your kitchen will have everyone begging for a taste.
Perfecting the Cooking Process
Start by mixing the peanut butter, powdered sugar, and crushed Butterfinger bars until well-blended and formable. Chill this mixture before rolling it into balls for easy handling and optimal texture.
Add Your Touch
Feel free to swap out the chocolate coating with white chocolate or even caramel for a unique twist. Adding a pinch of sea salt can enhance the sweetness beautifully.
Storing & Reheating
Store Butterfinger Balls in an airtight container in the fridge for up to two weeks. If frozen, they can last up to three months; just thaw before enjoying.
Chef’s Helpful Tips
- Use creamy peanut butter for smoother texture and easier rolling.
- Ensure your mixture is chilled enough to hold its shape.
- Don’t skip melting the chocolate properly; it ensures a beautiful, shiny coating on your treats.
Nothing quite compares to seeing my friends’ faces light up when they take that first bite of Butterfinger Balls. Their happiness makes every sticky finger worth it!
FAQ
How long do I need to chill the mixture?
Chill the mixture for at least 30 minutes to ensure it’s easy to roll.
Can I use other candy bars instead of Butterfinger?
Absolutely! Try Snickers or Twix for a delightful twist on flavor.
What’s the best way to melt chocolate?
Use a double boiler or microwave in short bursts, stirring until smooth and glossy.
Did You Enjoy Making This Recipe? Please rate this recipe with ⭐⭐⭐⭐⭐ or leave a comment.
📖 Recipe Card
Butterfinger Balls
Total Time: 50 minutes
Yield: Approximately 20 servings 1x
Description
Indulge in the delightful combination of creamy peanut butter and crunchy Butterfinger candy bars with these easy-to-make Butterfinger Balls. Perfect for gatherings or cozy nights in, these treats will impress everyone with their rich flavors and fun presentation. Whether you’re looking to satisfy your sweet tooth or impress loved ones, these irresistible bites are sure to bring smiles all around.
Ingredients
Scale
- 4 Butterfinger candy bars (crushed)
- 1 cup creamy peanut butter
- 2 cups powdered sugar
- 1 cup semi-sweet chocolate chips
- Optional: colorful sprinkles for decoration
Instructions
- Prepare your workspace by cleaning the countertop and gathering ingredients.
- Crush the Butterfinger bars in a ziplock bag using a rolling pin until small pieces form.
- In a bowl, mix together peanut butter and powdered sugar until well combined.
- Stir in the crushed Butterfinger until evenly distributed.
- Roll the mixture into 1-inch balls and place on a lined baking sheet.
- Melt chocolate chips in a microwave-safe bowl in 30-second intervals, stirring until smooth.
- Dip each ball into the melted chocolate and let excess drip off before placing back on the baking sheet.
- Optionally, add sprinkles while the chocolate is still warm.
- Chill for at least 30 minutes until set.
- Prep Time: 20 minutes
- Cook Time: 30 minutes
- Category: Dessert
- Method: No bake
- Cuisine: American
Nutrition
- Serving Size: 1 ball (30g)
- Calories: 130
- Sugar: 10g
- Sodium: 50mg
- Fat: 7g
- Saturated Fat: 3g
- Unsaturated Fat: 4g
- Trans Fat: 0g
- Carbohydrates: 15g
- Fiber: 0g
- Protein: 3g
- Cholesterol: 0mg


2 thoughts on “Butterfinger Balls”